Photography While in Quarantine - Part 2

Painting at sunset

For some of us, it has been almost two months since the first of the stay at home orders were implemented and we had to go in quarantine. This year has been one of many surprising things and while things so far look bleak, there’s always a ray of light leaking from a corner of your life.

Many of you are running out of things to do during this quarantine. In my previous post, I talked about buying your first DSLR camera if you would like to take photography as a hobby or if you want to become eventually a professional photographer. Now that you have your camera you are wondering what to do with it if you can’t get out of the house. Well, there’s a lot of stuff that you can do and in this post I’m going to give you some ideas.

Photography related activities that you can do during COVID-19 quarantine and after:

  1. Learn to use your camera in manual mode. You purchased your new camera and you would like to move away from auto mode. When moving from auto mode to manual, there are several parameters that you need to take in consideration to get a proper exposure. That’s where the exposure triangle comes in. It includes: aperture, ISO, and shutter speed. These three parameters influence how your final image looks. When you are in auto mode, your camera chooses the best parameters to create a proper exposure. When you move to manual mode, you decide what aperture you want to use and the same goes for ISO, and shutter speed. In a nutshell, the aperture is how big the opening of the lens is. The bigger the aperture, the more light comes in. But with a bigger aperture you also change the depth of field. When the aperture is wide open only certain areas of the images are in focus. For example, images in which the background is completely blurred and the subject is in focus have a wider aperture compared to those images that everything is in focus. An analogy to this is when you squint your eyes so you can focus your eyesight and get a sharper image. Many lenses have apertures that go from 1.4 to 32. But don’t be fooled by these numbers. To simplify things I won’t go into the math behind these numbers, but in summary the smaller the number the bigger the aperture. The bigger the number the smaller the aperture and less light hits the sensor.

    The shutter speed is how long it takes the camera to take a shot. With fast shutter speeds you can freeze motion, but also less light hits the sensor. A slower shutter speed allows more light to enter the sensor.

    The ISO is how sensitive your sensor is to light. As you increase the number, your sensor becomes more sensitive to light, but also introduces noise to the image.

    To familiarize yourself with these three parameters, you can also use some of the other modes that come with your camera. Most cameras have the aperture priority and shutter speed modes. When you use these parameters, you control one and the camera controls the rest. For example, in aperture priority mode you choose your aperture to be f2.8 because you want to blur the background. Then your camera chooses your shutter speed and ISO.

    This all seem like a lot of information at once. I only scraped the surface. But if you would like to learn more, I would recommend reading a book like Understanding Manual Exposure from Bryan Peterson or to take a class. There are many online classes that you can take. I really like the ones from Clickinmoms. The Clickinmoms organization is a great community and in their website there are many free tutorials that you can access once you acquire a membership. There are two types of memberships: annual and lifetime. Whichever one you choose, it’s worth every penny. They also have online classes that usually last 4 weeks. Each week you learn new information and there’s an assignment for which you will get feedback from your instructor and the teacher assistants. You can also go to their magazine website, Click Magazine, in which you’ll find many useful articles for free. No membership is required to access the articles in the magazine website.

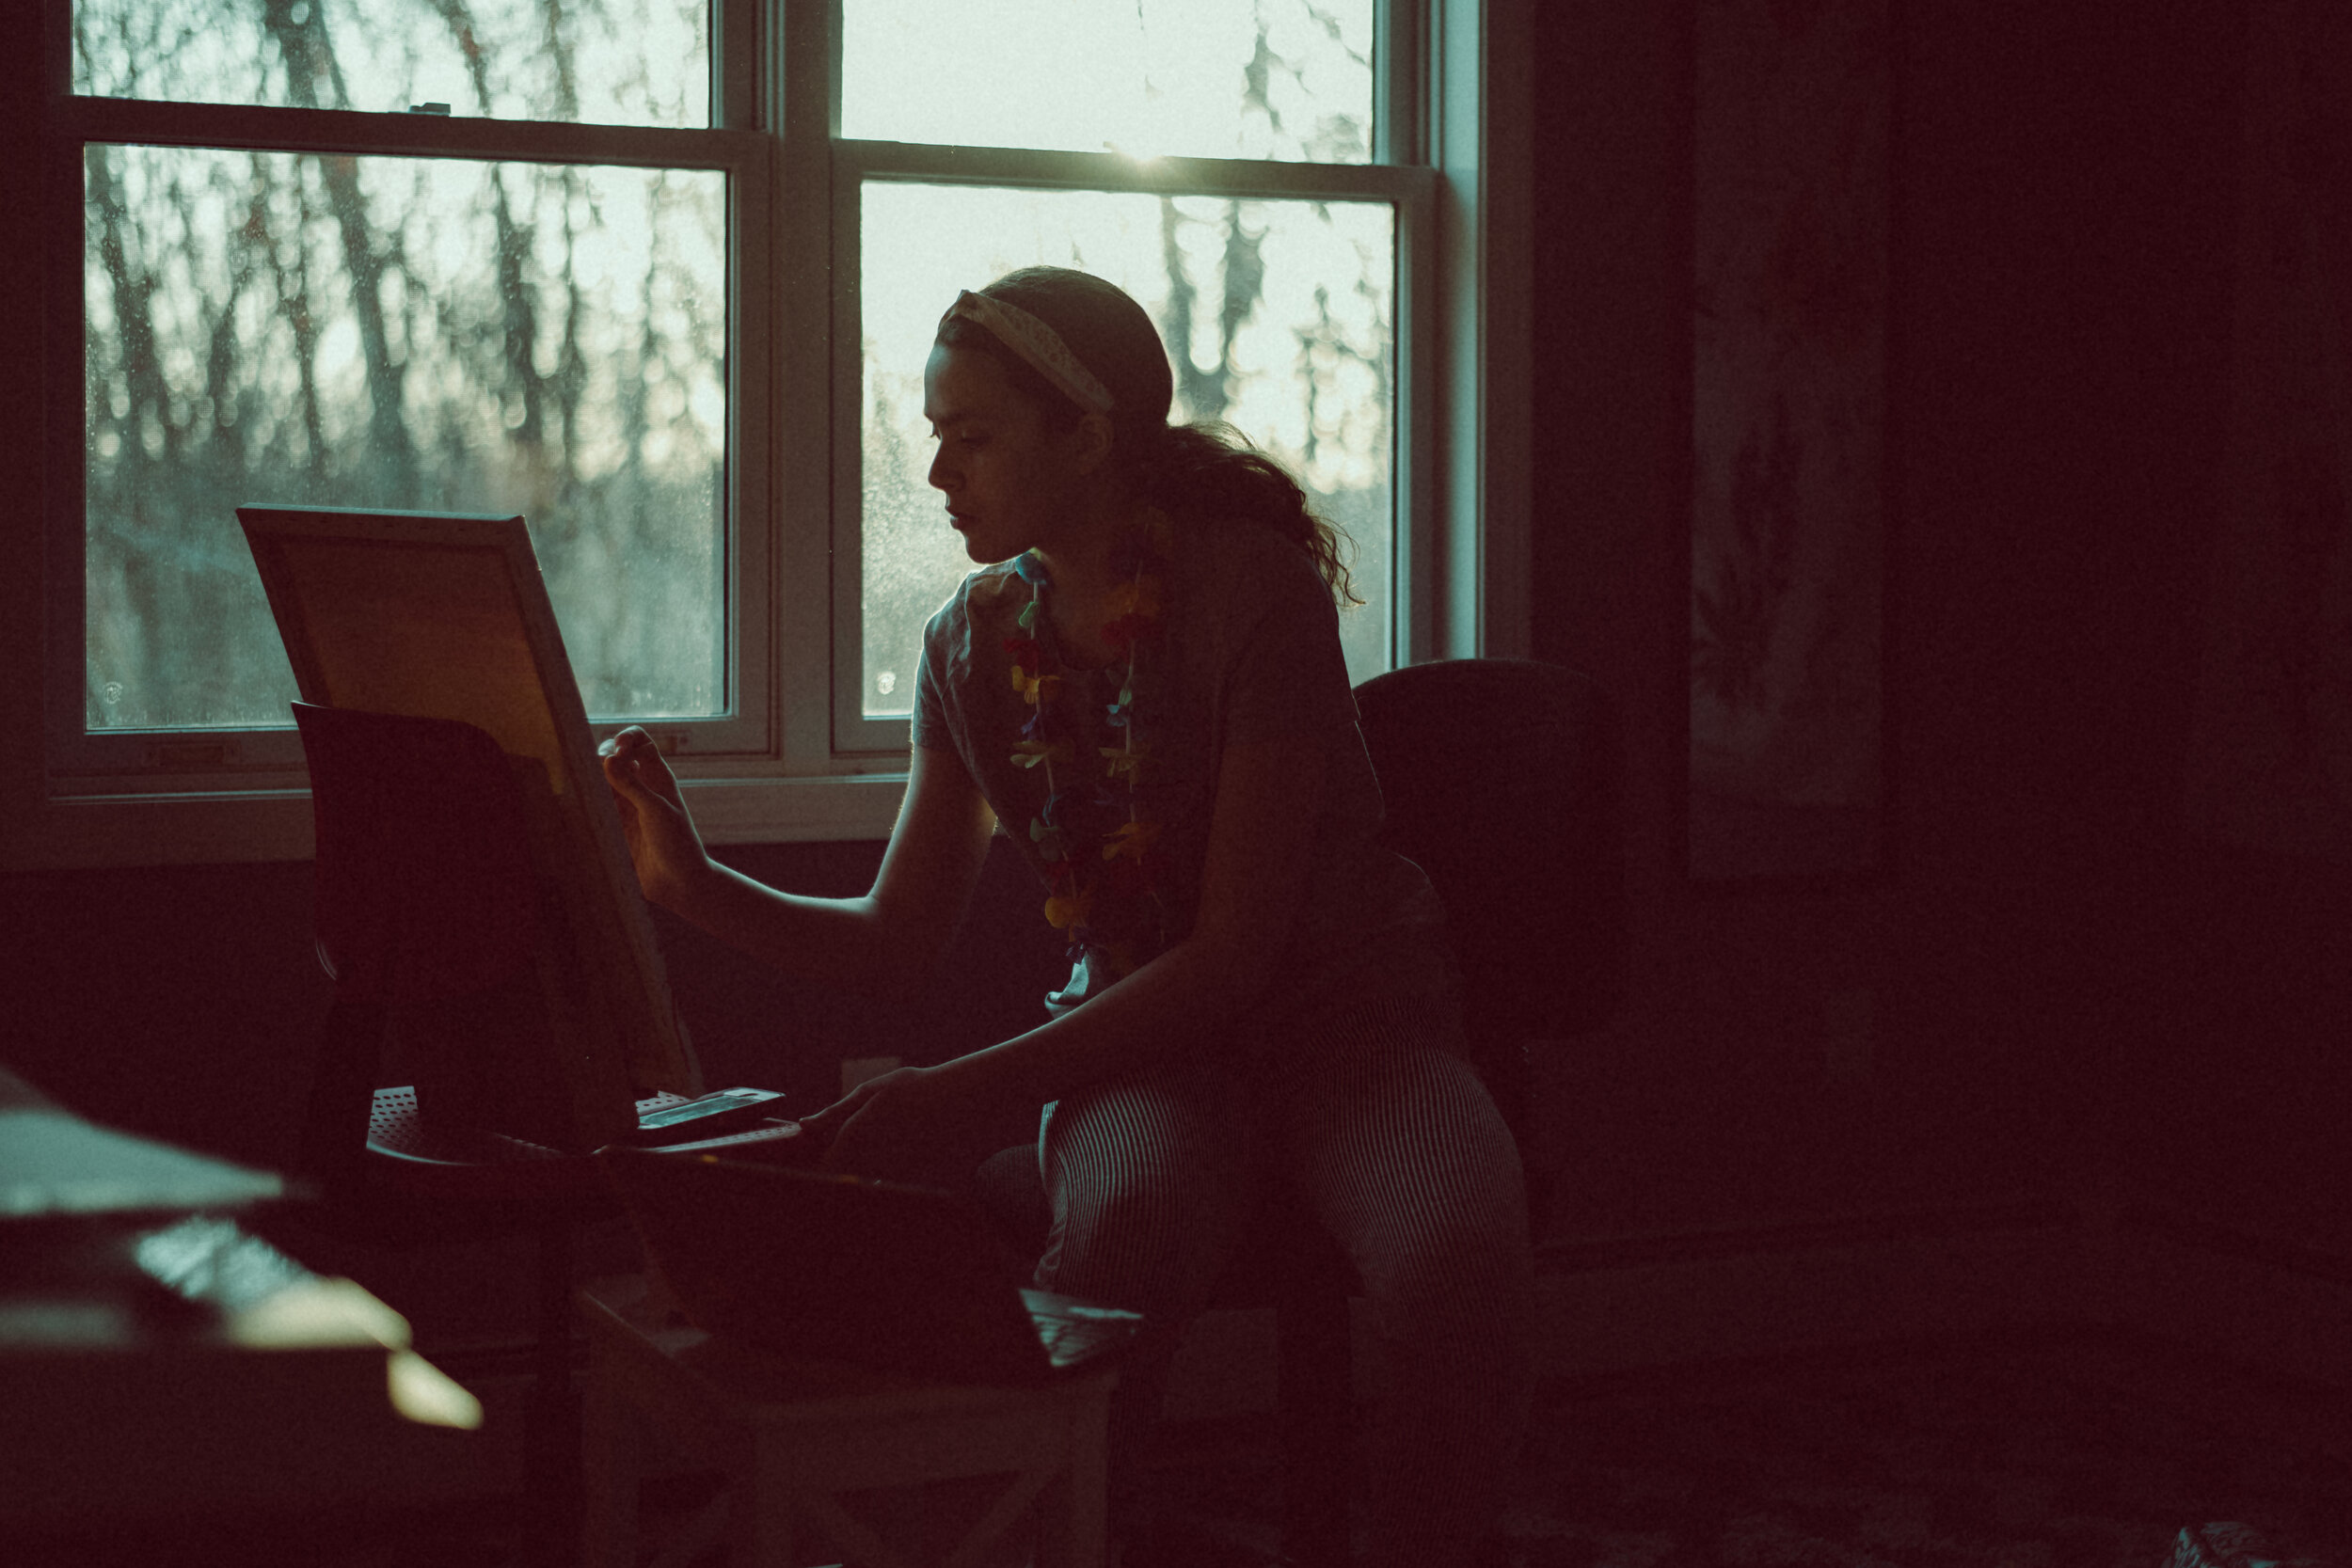
  2. Document your quarantine. During this quarantine, I’ve been documenting my kids’ activities. They have been doing online schoolwork, playing outside, painting our storm door, and we have also gone hiking.

Kids doing online homework
Painting the storm door.

When you are documenting your life at home keep your camera nearby with a lens ready to go. I usually keep my camera in the kitchen counter with my 50mm lens, and when I see a scene folding in front of my eyes I go grab quickly the camera and take a few pictures of what is happening.

Documenting your days is also about perspective. You can shoot from above, in front of you, from below, etc. Also, it’s important to document the details. Below is a picture that I shot of my kid painting the door As you can see, it’s from a higher point of view as I am standing and looking down to the floor where he is.

Painting the storm door

When you are documenting the details think about focusing on something small. For example, when my kids were painting the door I took a picture of their hands with the paintbrush. In the pictures below, you can see that I documented basically the same detail shot, but from different perspectives which gives you a different insight into what is going on. A lot of times, an image of a detail doesn’t include a face. Rather, the subject of the image is an inanimate object or any other area of the body that is not the face. To me these images are like little windows into what is happening and they make you feel closer to the action like you were there when it happened.

Detail shot of painting the door

3. Create a memories book. Once the quarantine is over and the stay at home orders are lifted I’m planning to create a memory book. As I mentioned before, I’ve been documenting many of our activities during this time and I want to print these images in a format that is ready available to us to look at whenever we want. It’s very important to print your images and not leave them out of sight inside a hard drive somewhere. When you print your images and hang them on your walls you see them all the time and somehow having them in your hands make them feel real. Since I’ve been taken so many images and they all won’t fit on my wall, a photo book is the perfect format for us to have them available. I usually order my prints from high quality labs. When you order your prints from low quality labs like the ones from your nearby pharmacy store or wholesale club, the colors in the prints might not look like the ones from the digital file and the quality overall is not optimal. There are many good quality labs out there, but I like Printique as their prices are affordable and the quality of the prints is excellent.

4. Research a photographer. At any point during your photography journey, you should not compare yourself to other photographers. Each person is in a different journey and at a different stage and comparing yourself to somebody else is fruitless. Since each person’s journey is different, your images will never look like someone else’s. Many times we get disappointed because our images don’t look like the ones from a certain photographer, but what we don’t realize is that this other person might have been already shooting for a decade or longer, and I guarantee you that when he or she started, his or her images did not look at all the way they look now in the present day. That being said you can still look at other photographer’s work for inspiration. You can learn from them things like perspective, composition, use of light, editing style, etc. Some of my favorite photographers are Ansel Adams, Brooke Shaden, Caroline Jensen, and Elena S. Blair. If you look at, for example, Brooke Shaden’s work you will see that it is completely different from my work, but that doesn’t stop me from admiring her work. She shares her shooting and editing techniques so there’s always something new that I can learn from her. When I research other photographers I do it with the purpose of enjoying their work and learning from them. Some of the things that I learn from them I apply them to my own work, but many times I don’t. Many times I just like to watch their process.

I hope some of these ideas inspire you to go grab your camera and enjoy documenting your life.

Disclaimer: This post contains affiliate links which means that I will make a small commission at no extra cost to you if you click on the link and buy something. All my recommendations are based on my own experience and that of fellow photographers that have shared their opinions with me. I only write about products that I believe in.